The ability to generate 3D objects from drawings isn’t a new technology, CNC lathes have been producing accurate three dimensional objects for decades out of a wide array of materials from various metals, wood, and plastics. Recently a far cheaper alternative known as 3D printing has become popular which can achieve a similar effect though in smaller scales and typically using less durable materials, which for most consumer/hobbyist goals is perfectly adequate. If you need a part that just isn’t made and know your way around a CAD tool, 3D printing is fast and cheap compared to what were at the time the only alternatives a few years ago.
For this project, I needed an extra set of fans to help cool the GPU within a CaseLabs Mercury S5. The S5 is by far one of the highest quality and best designed cases I’ve ever used, though my particular air-cooled configuration was plagued with a bit more heat soak than I was happy with. I think at some point everyone goes through a liquid cooling phase, and ultimately grows out of it. For anyone running an air-cooled setup in an S5, here’s an easy way to improve the flow dynamics of the PCI-E compartment.
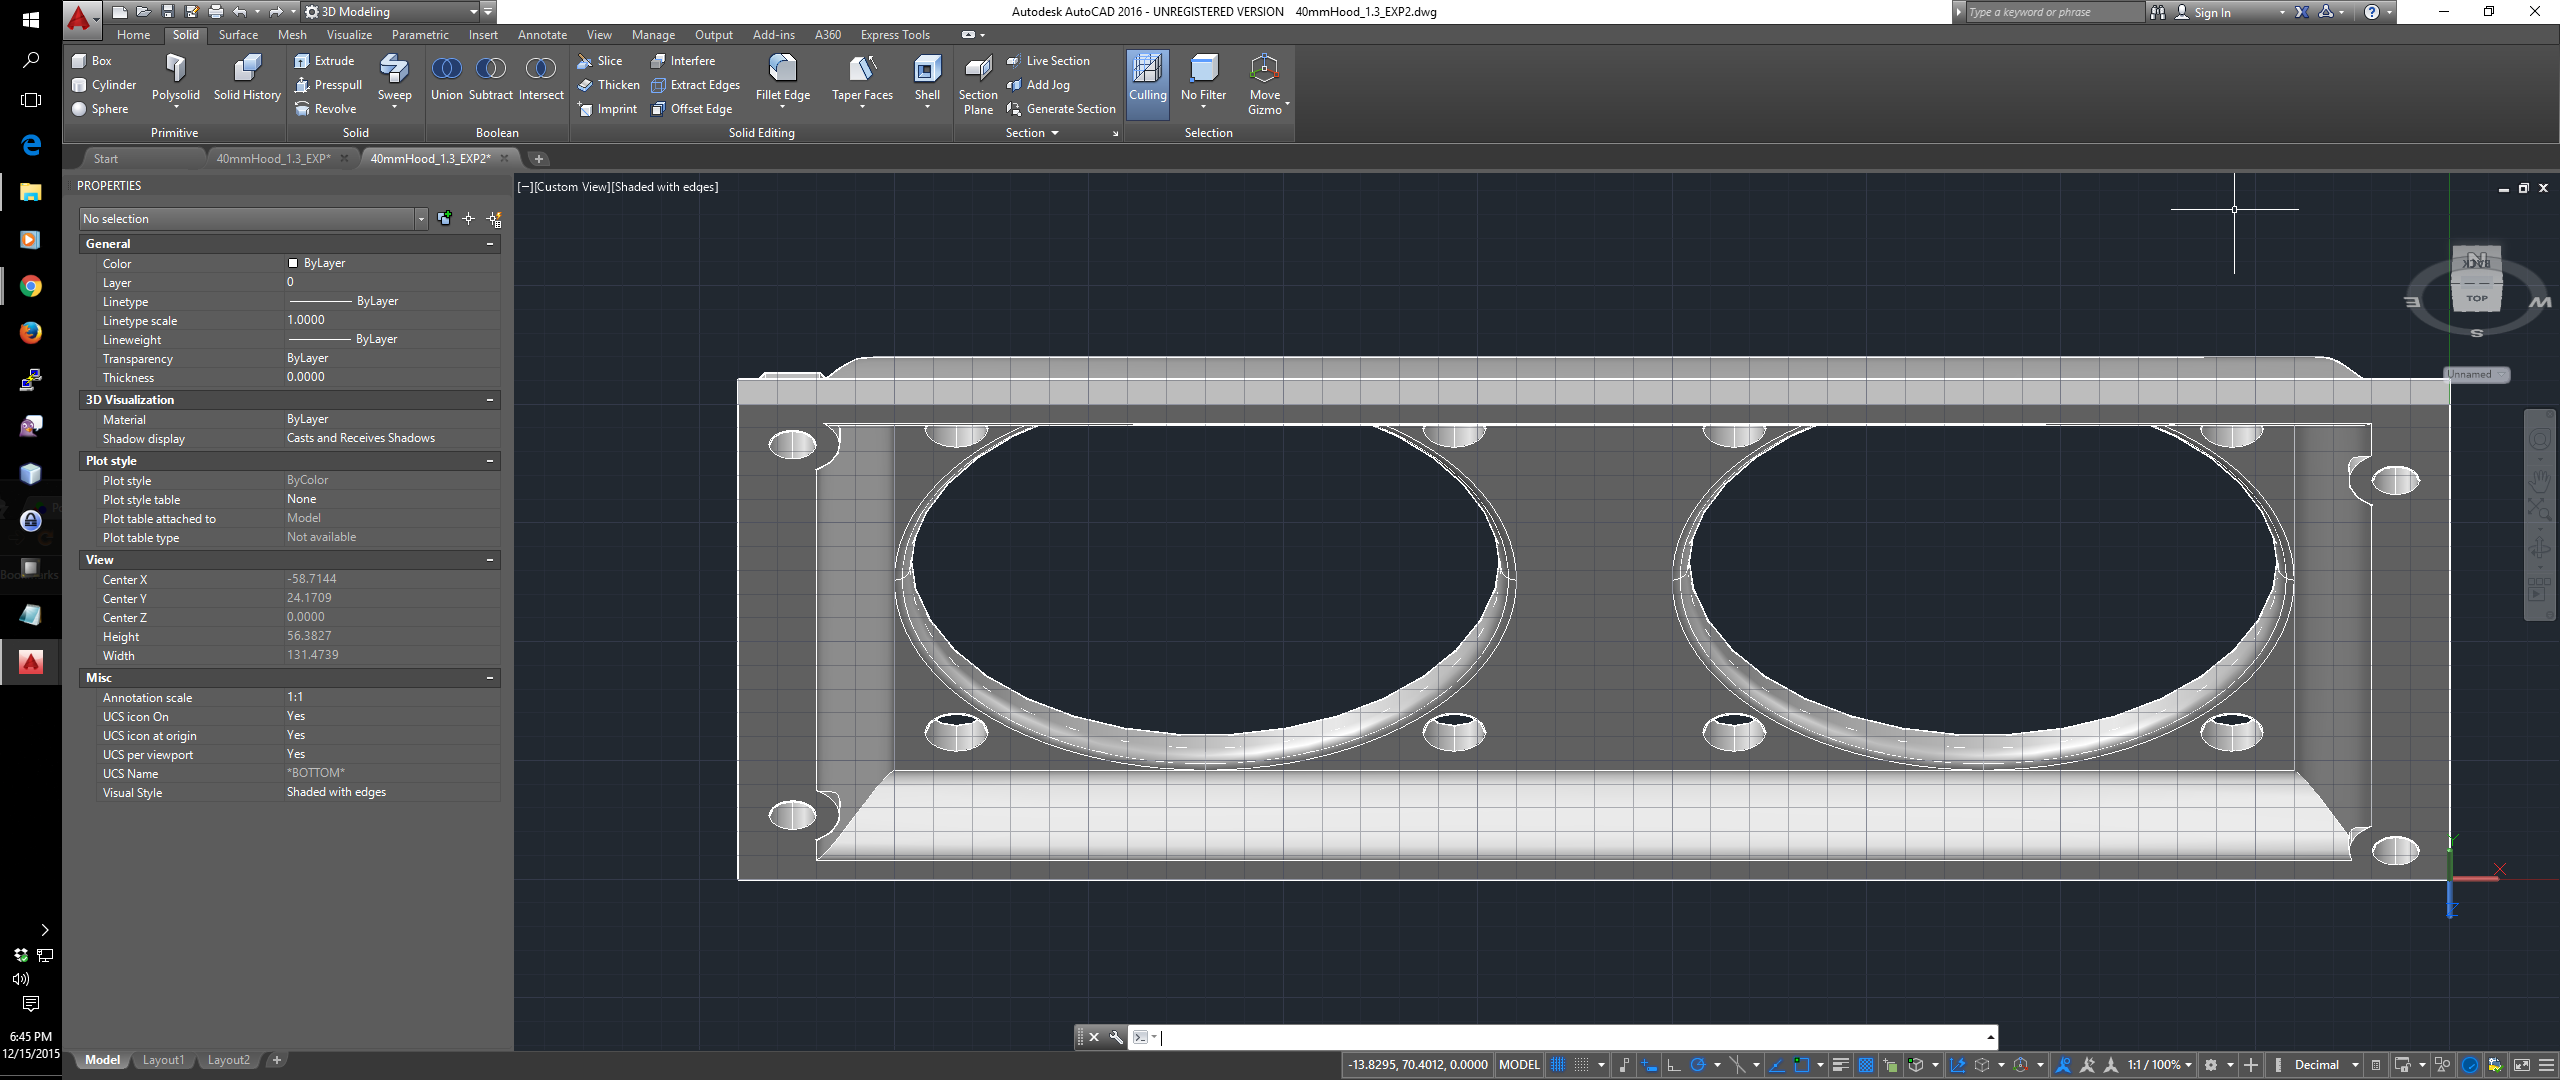
To design the manifold I spent an afternoon re-familiarizing myself with the latest version of AutoCAD using the free 30 day trial license. AutoCAD’s 3D tools have come a long way in the last few years and made the design phase a breeze. For the fans I selected a set of 40mm Noctua NF-A4x10 low noise fans. Knowing the dimensions of the fans and having direct access to the case I used a digital caliper to measure the location the manifold was to be placed and created the 2D overhead drawing using the SW corner as the origin.
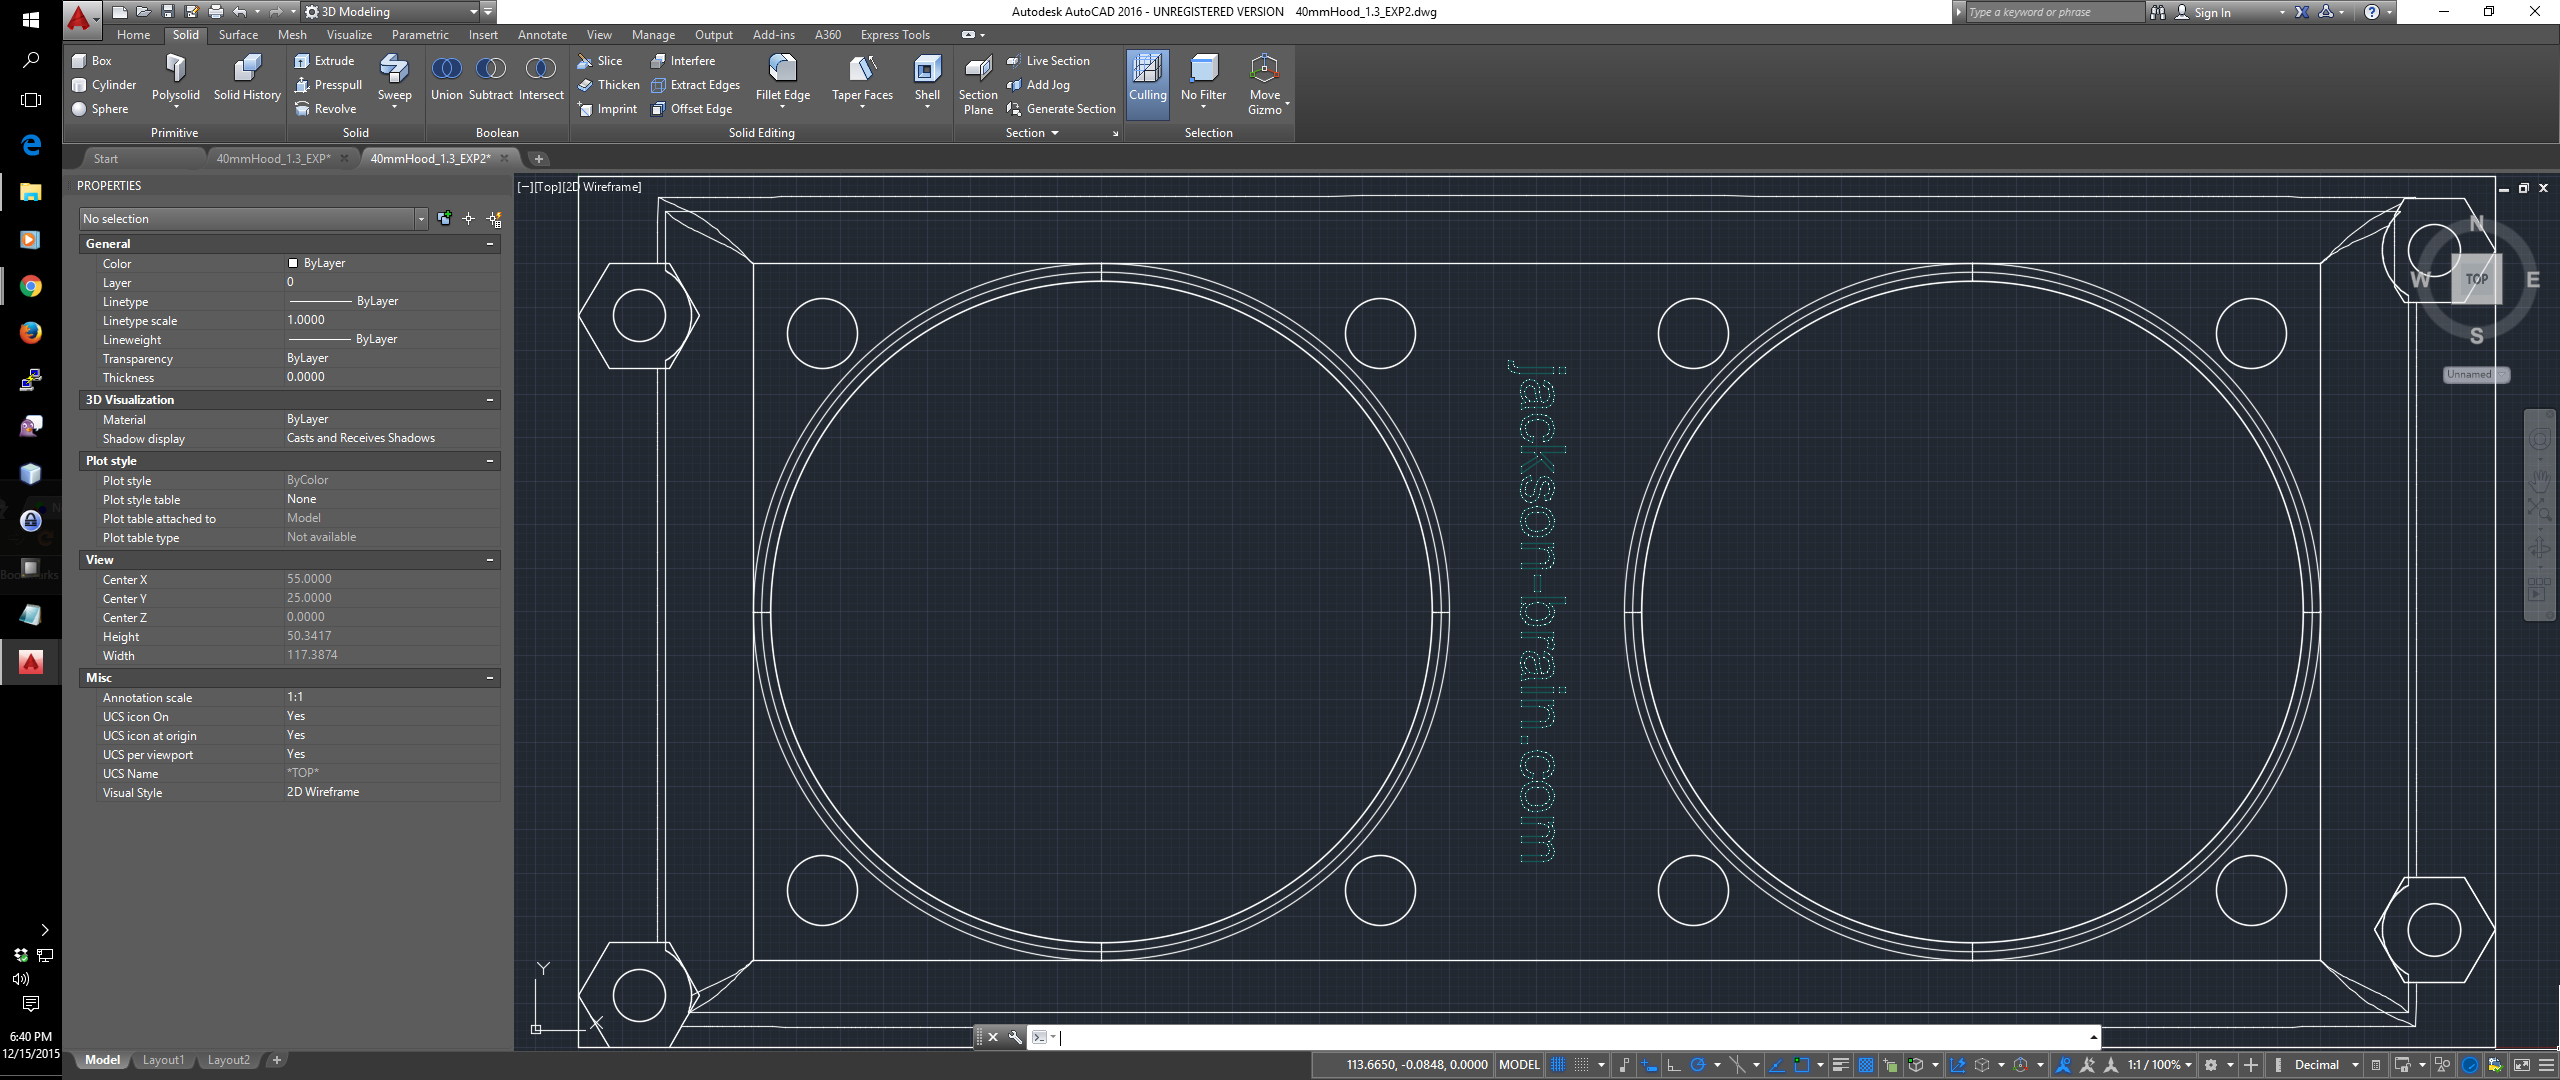
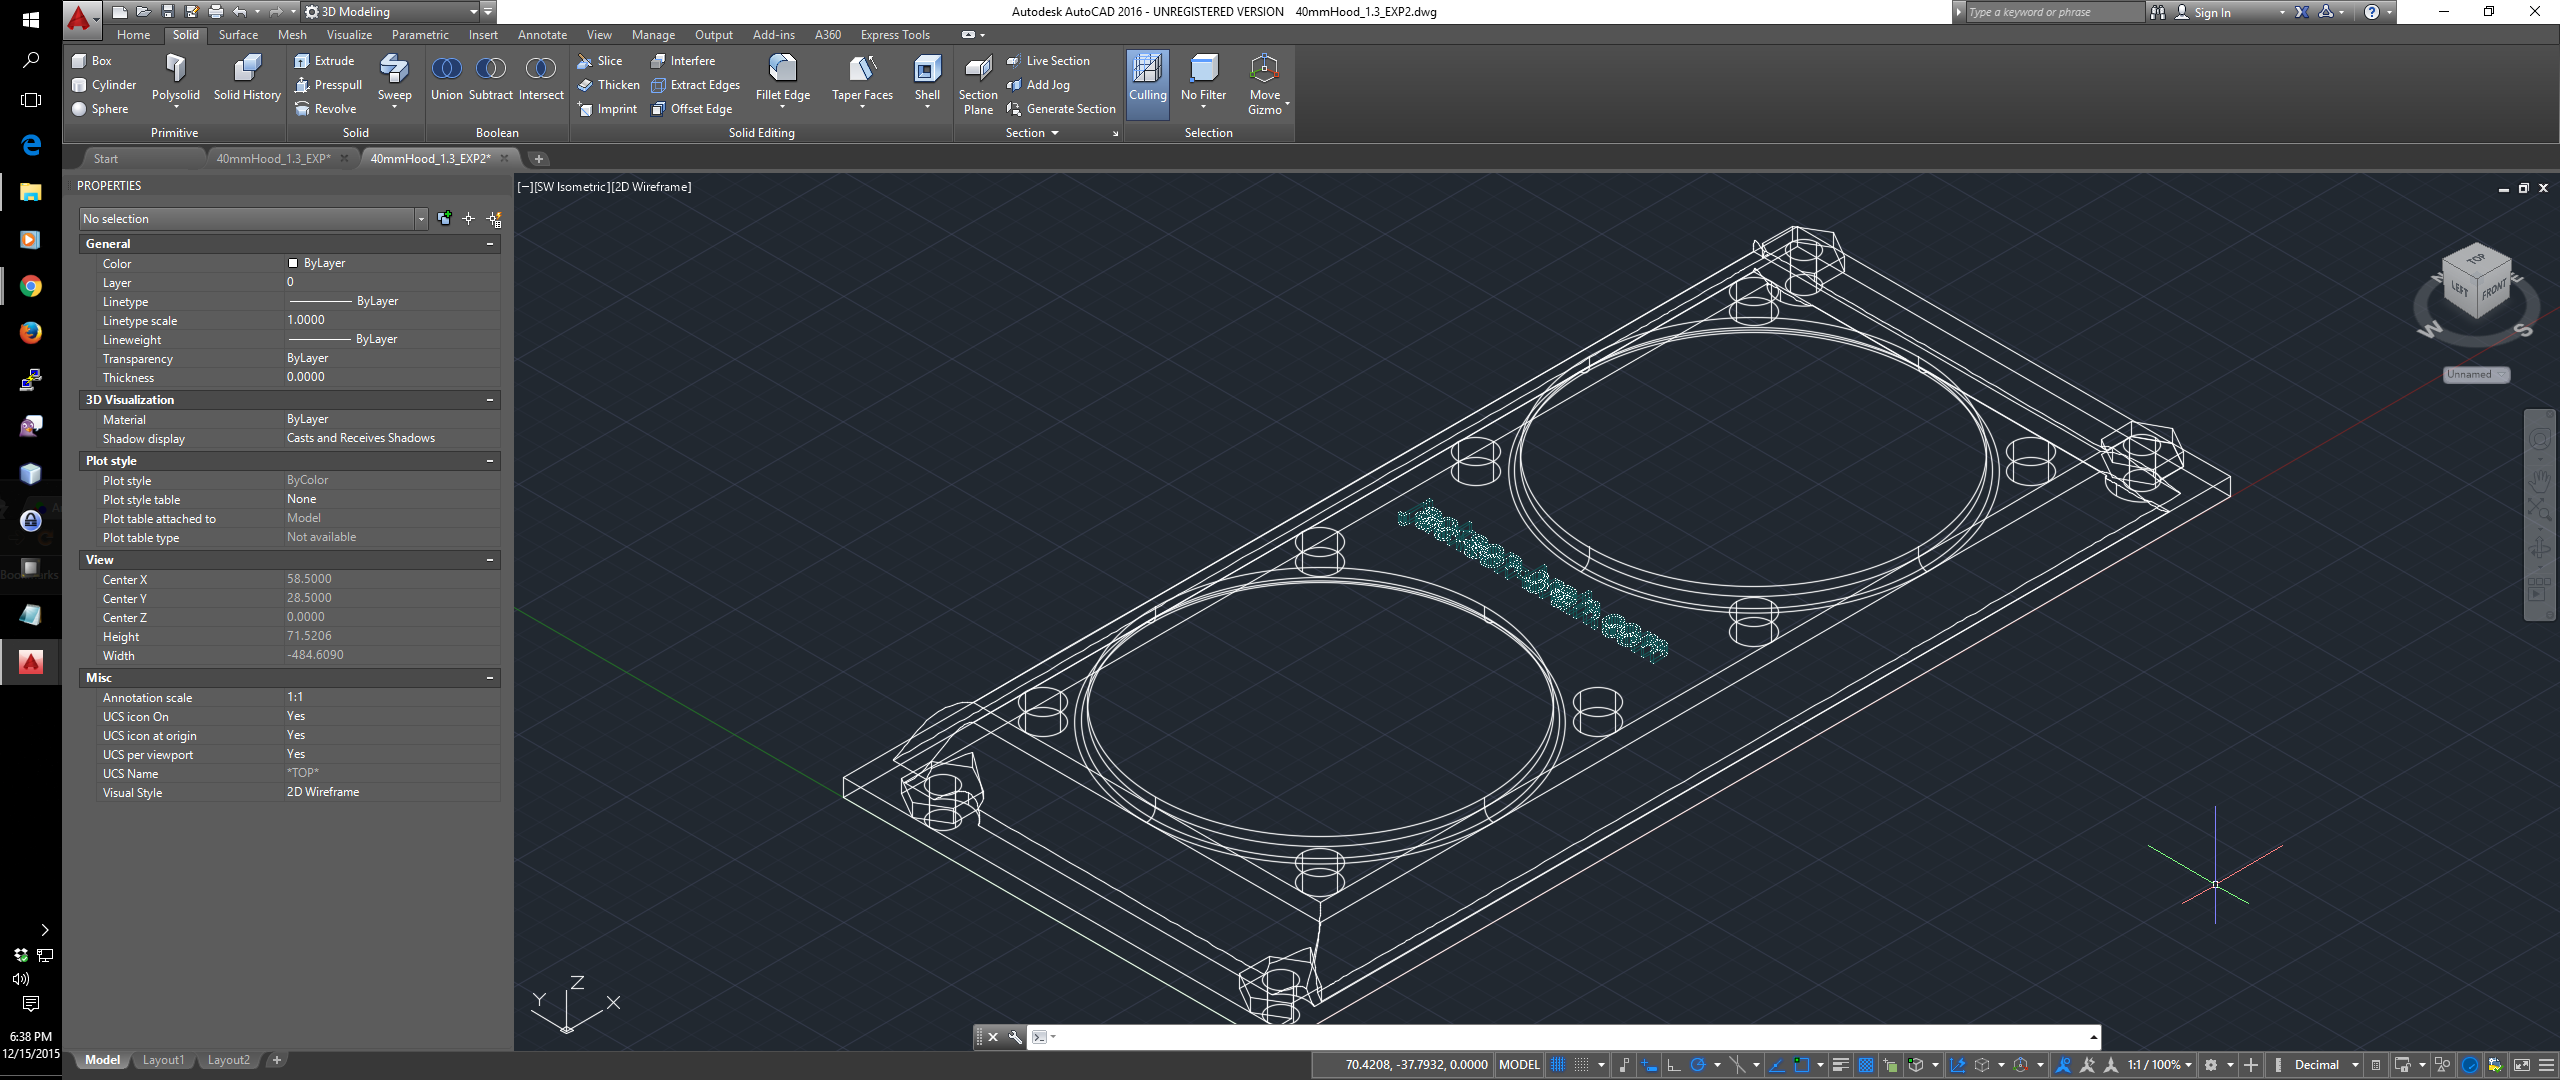
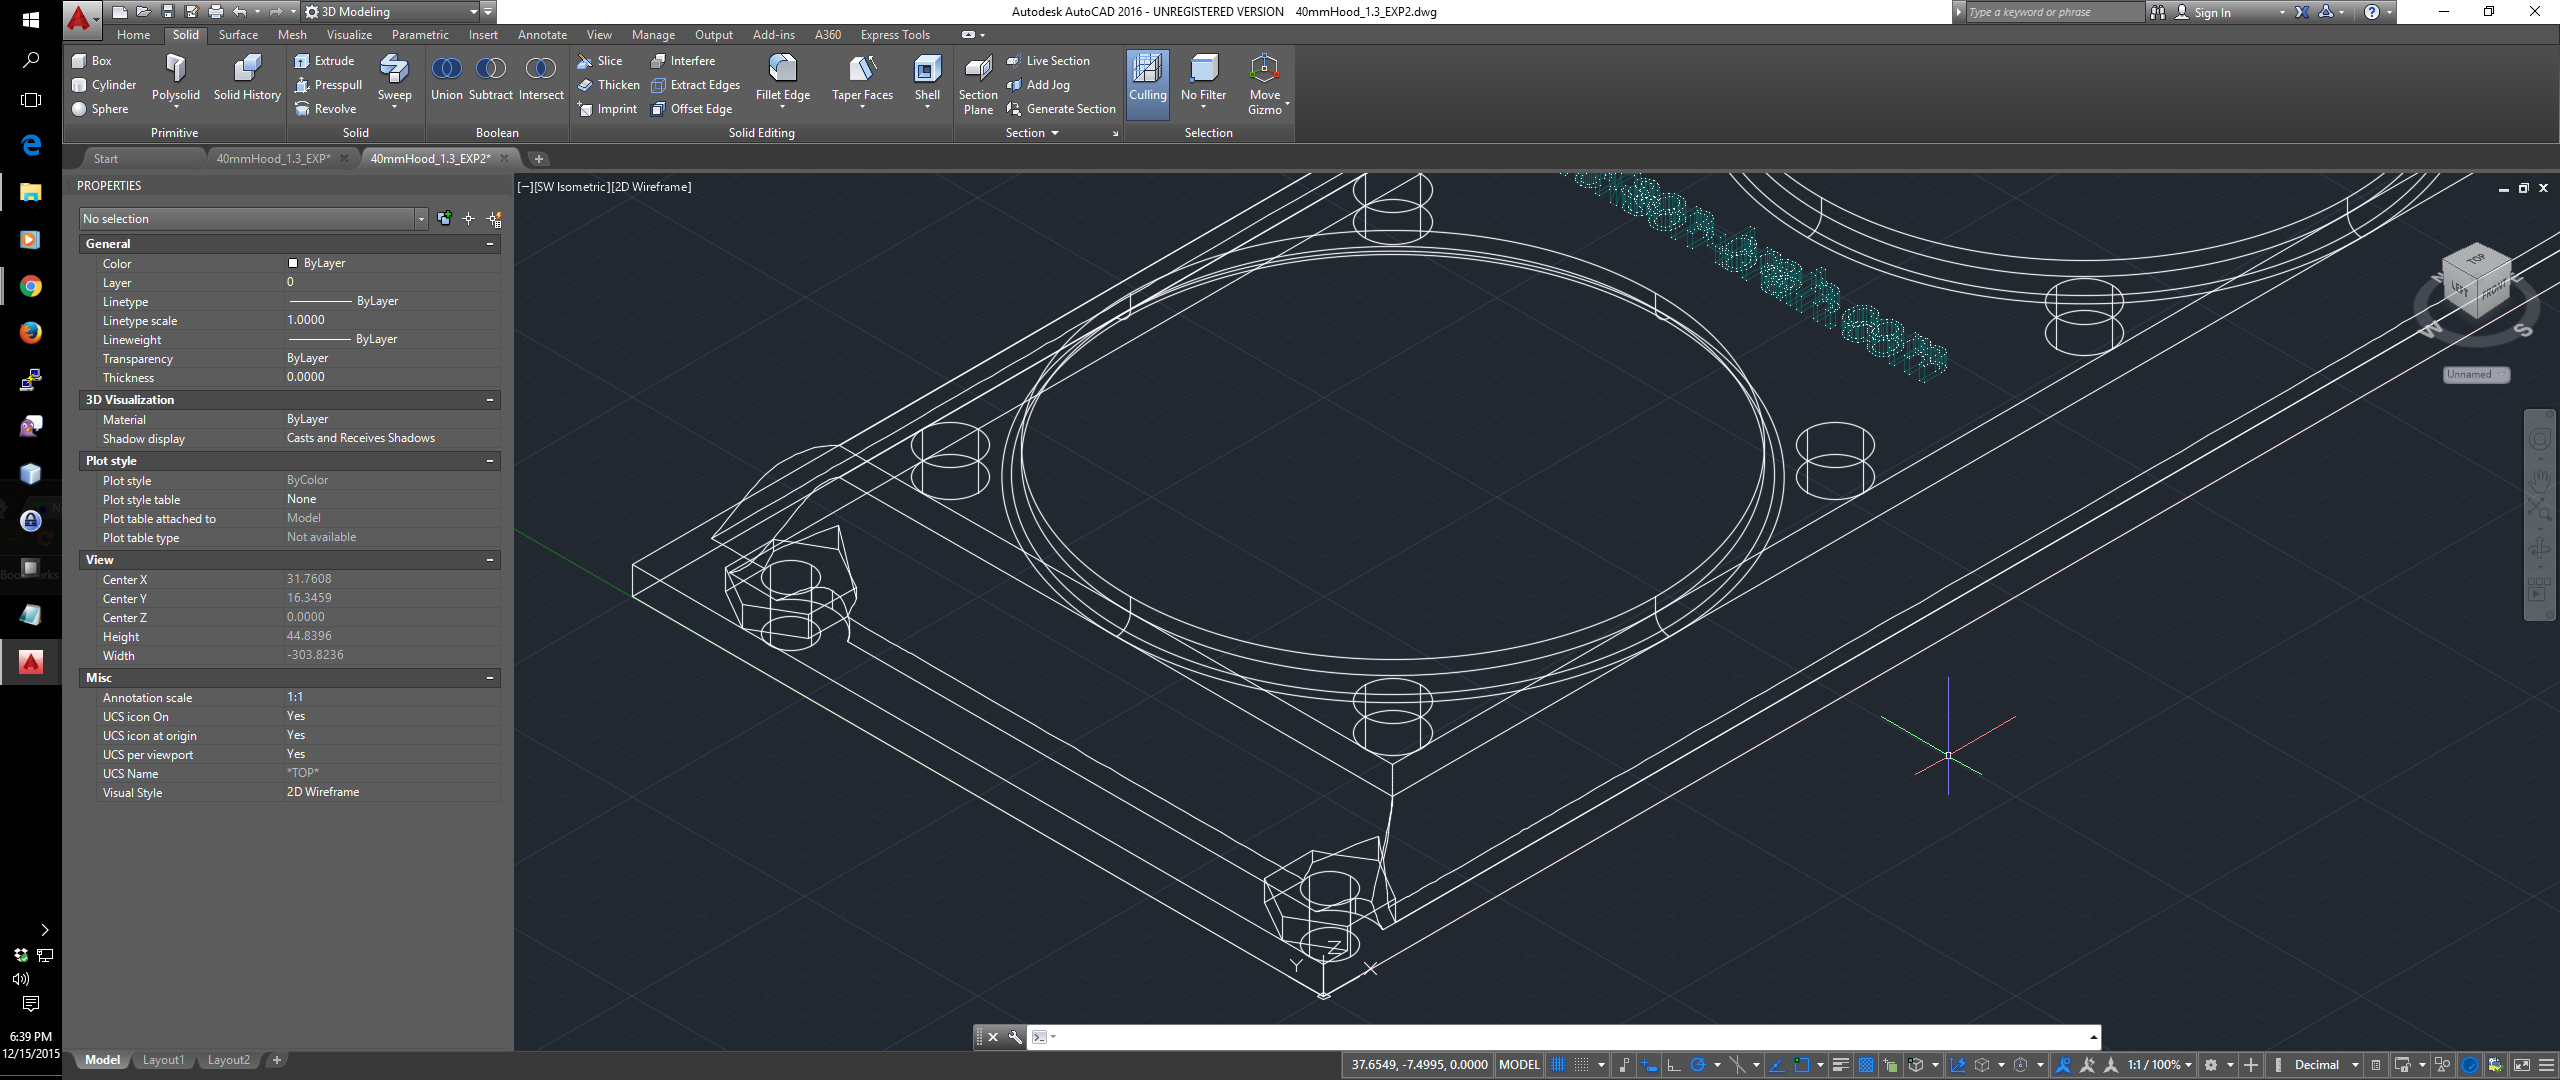
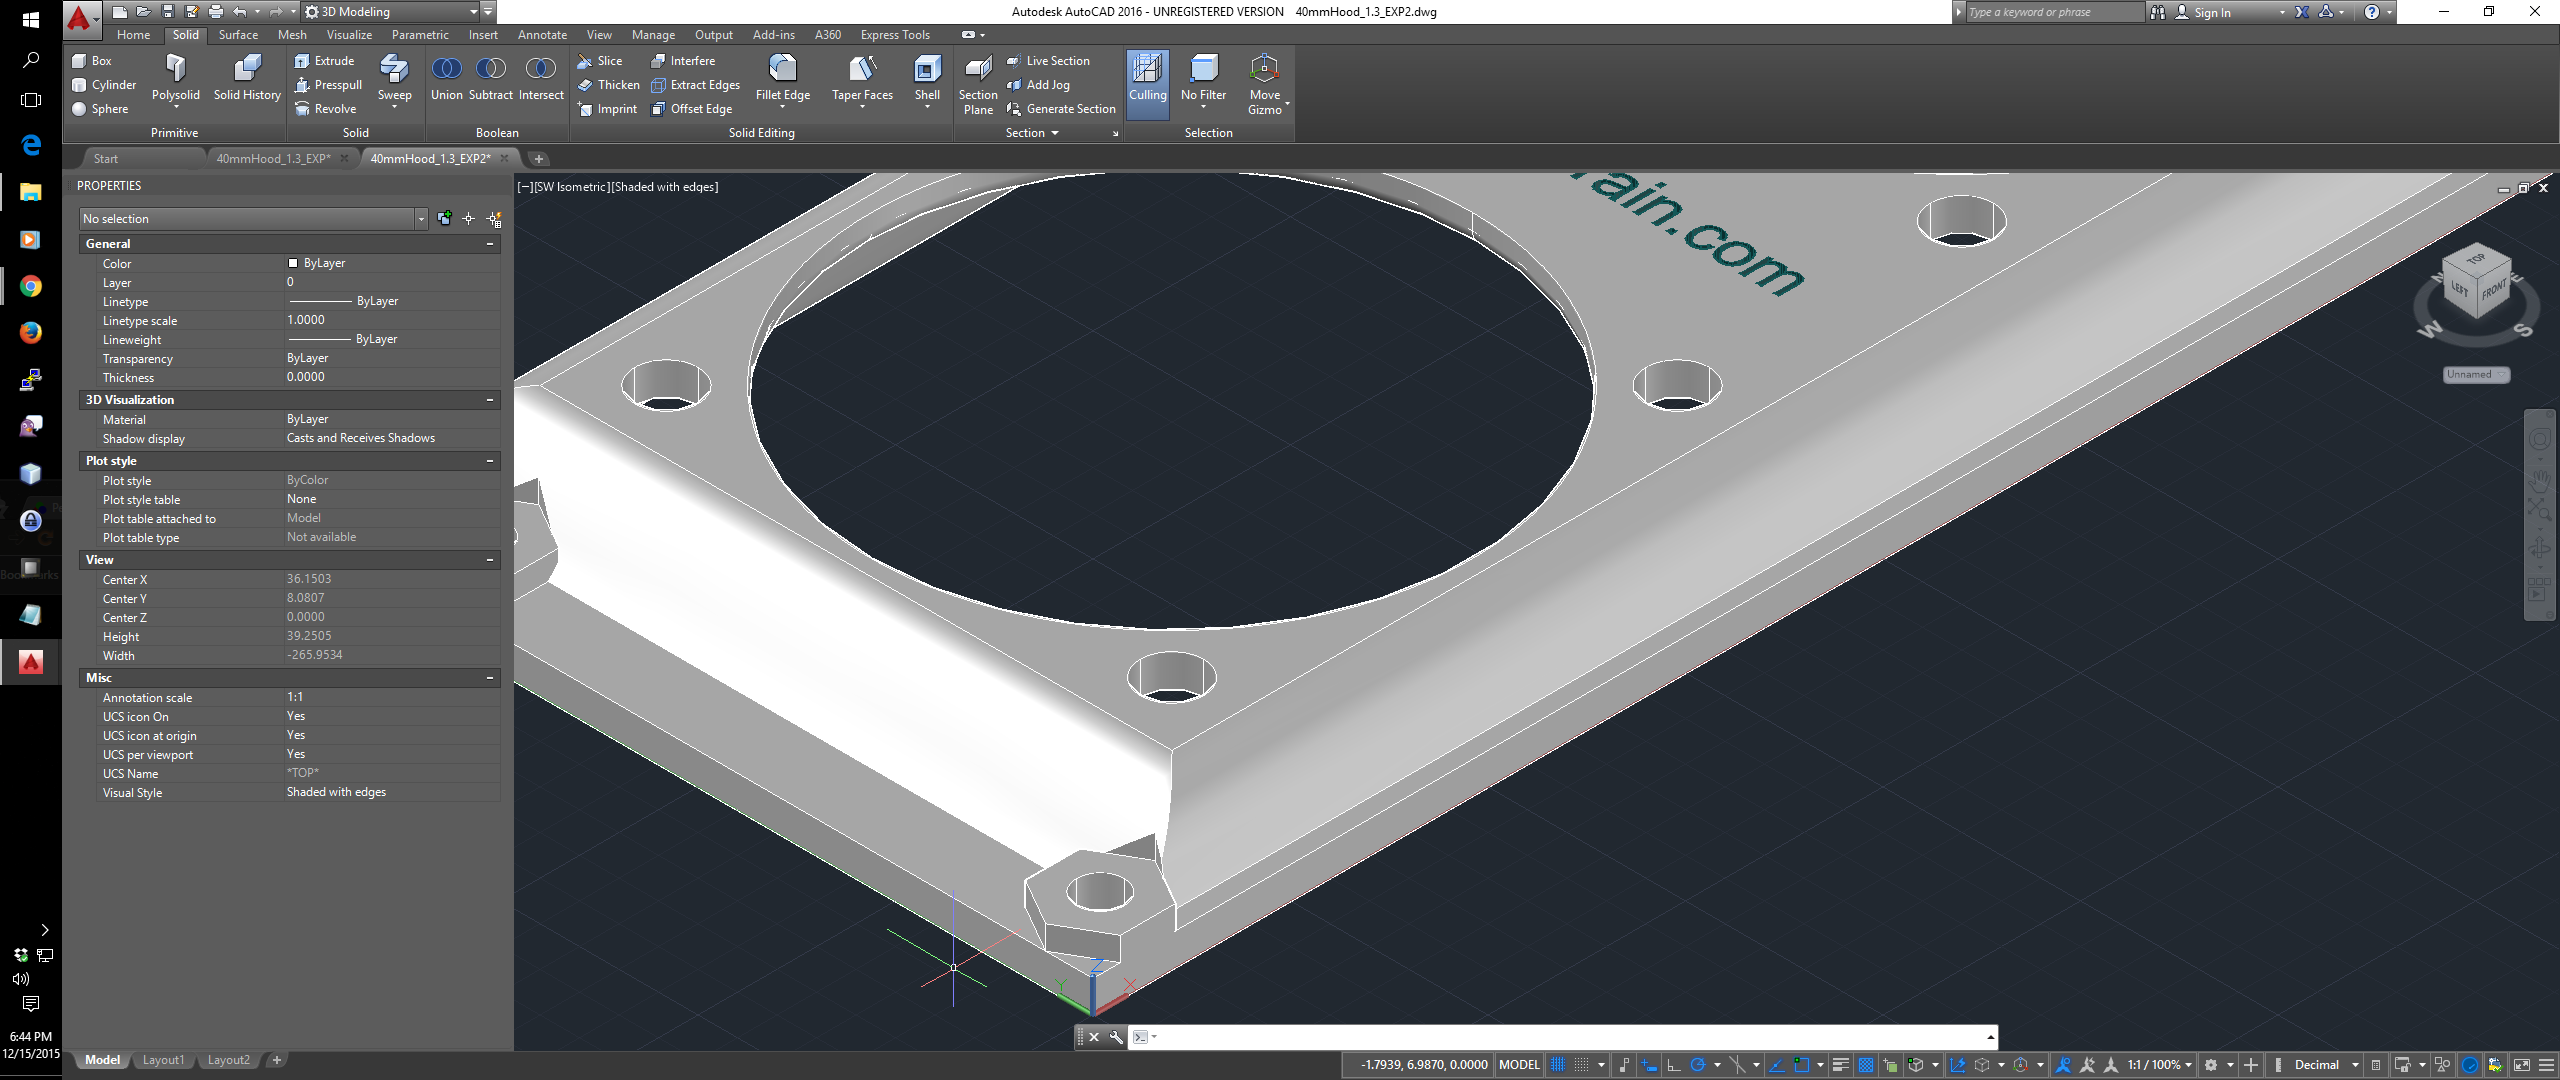
The next step was to extrude/pull the 2D structures into the final form of the manifold. A quick review of a few chapters in an undergrad physics book covering laminar flow/fluid dynamics and some dirty napkin mathematics provided the offset of the fan face and the rear ventilation plate, use of the filet tool to eliminate sharp edges in the flow path to reduce turbulence/resistance and noise resulted in a compact and low material design. It is important at this stage to understand the limitations of the particular material and printer you will be using, they all have specific resolutions and minimum thickness guidelines that need to be considered during design. For my particular combination I targeted a minimum of 1.2 mm. I had also already selected a set of nylon mounting hardware to reduce vibration and was able to incorporate structures to increase strength and rigidity as well as specific geometry to hold the mounting hardware in place.

Once the final design was achieved, and all measurements double checked it was time to print. I chose my local UPS store for convenience, which uses a Stratasys uPrint SE Plus.
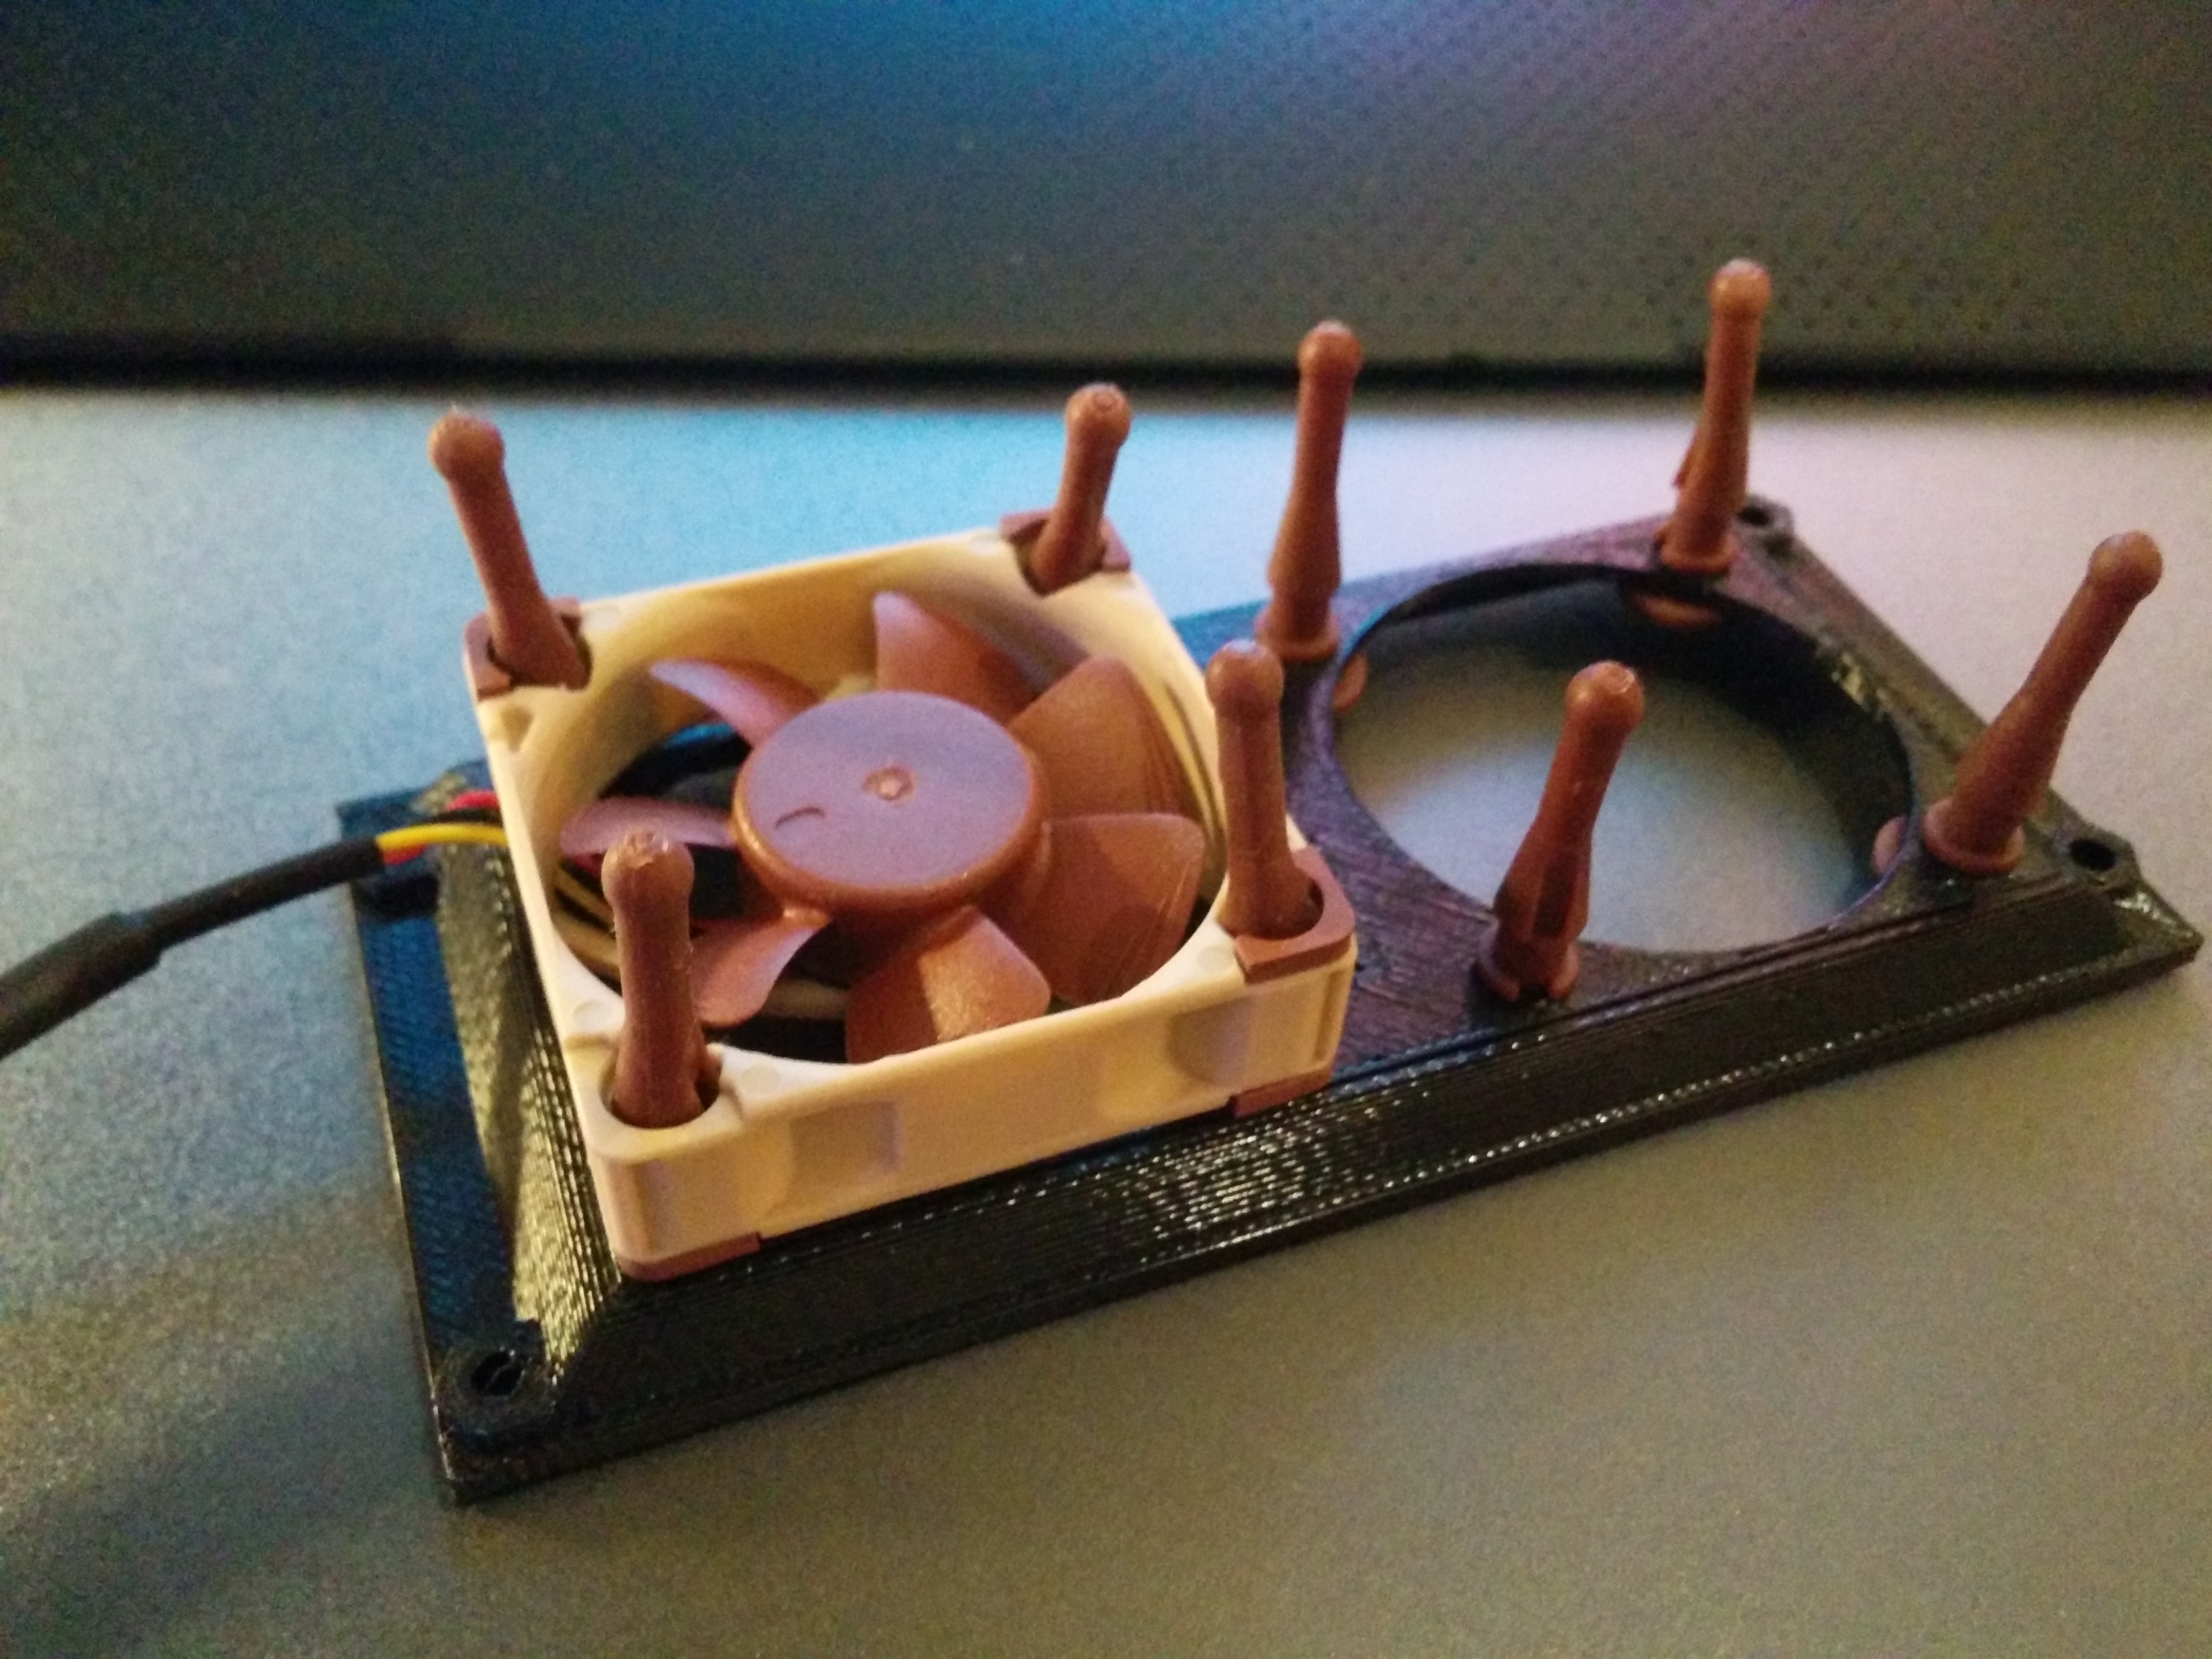
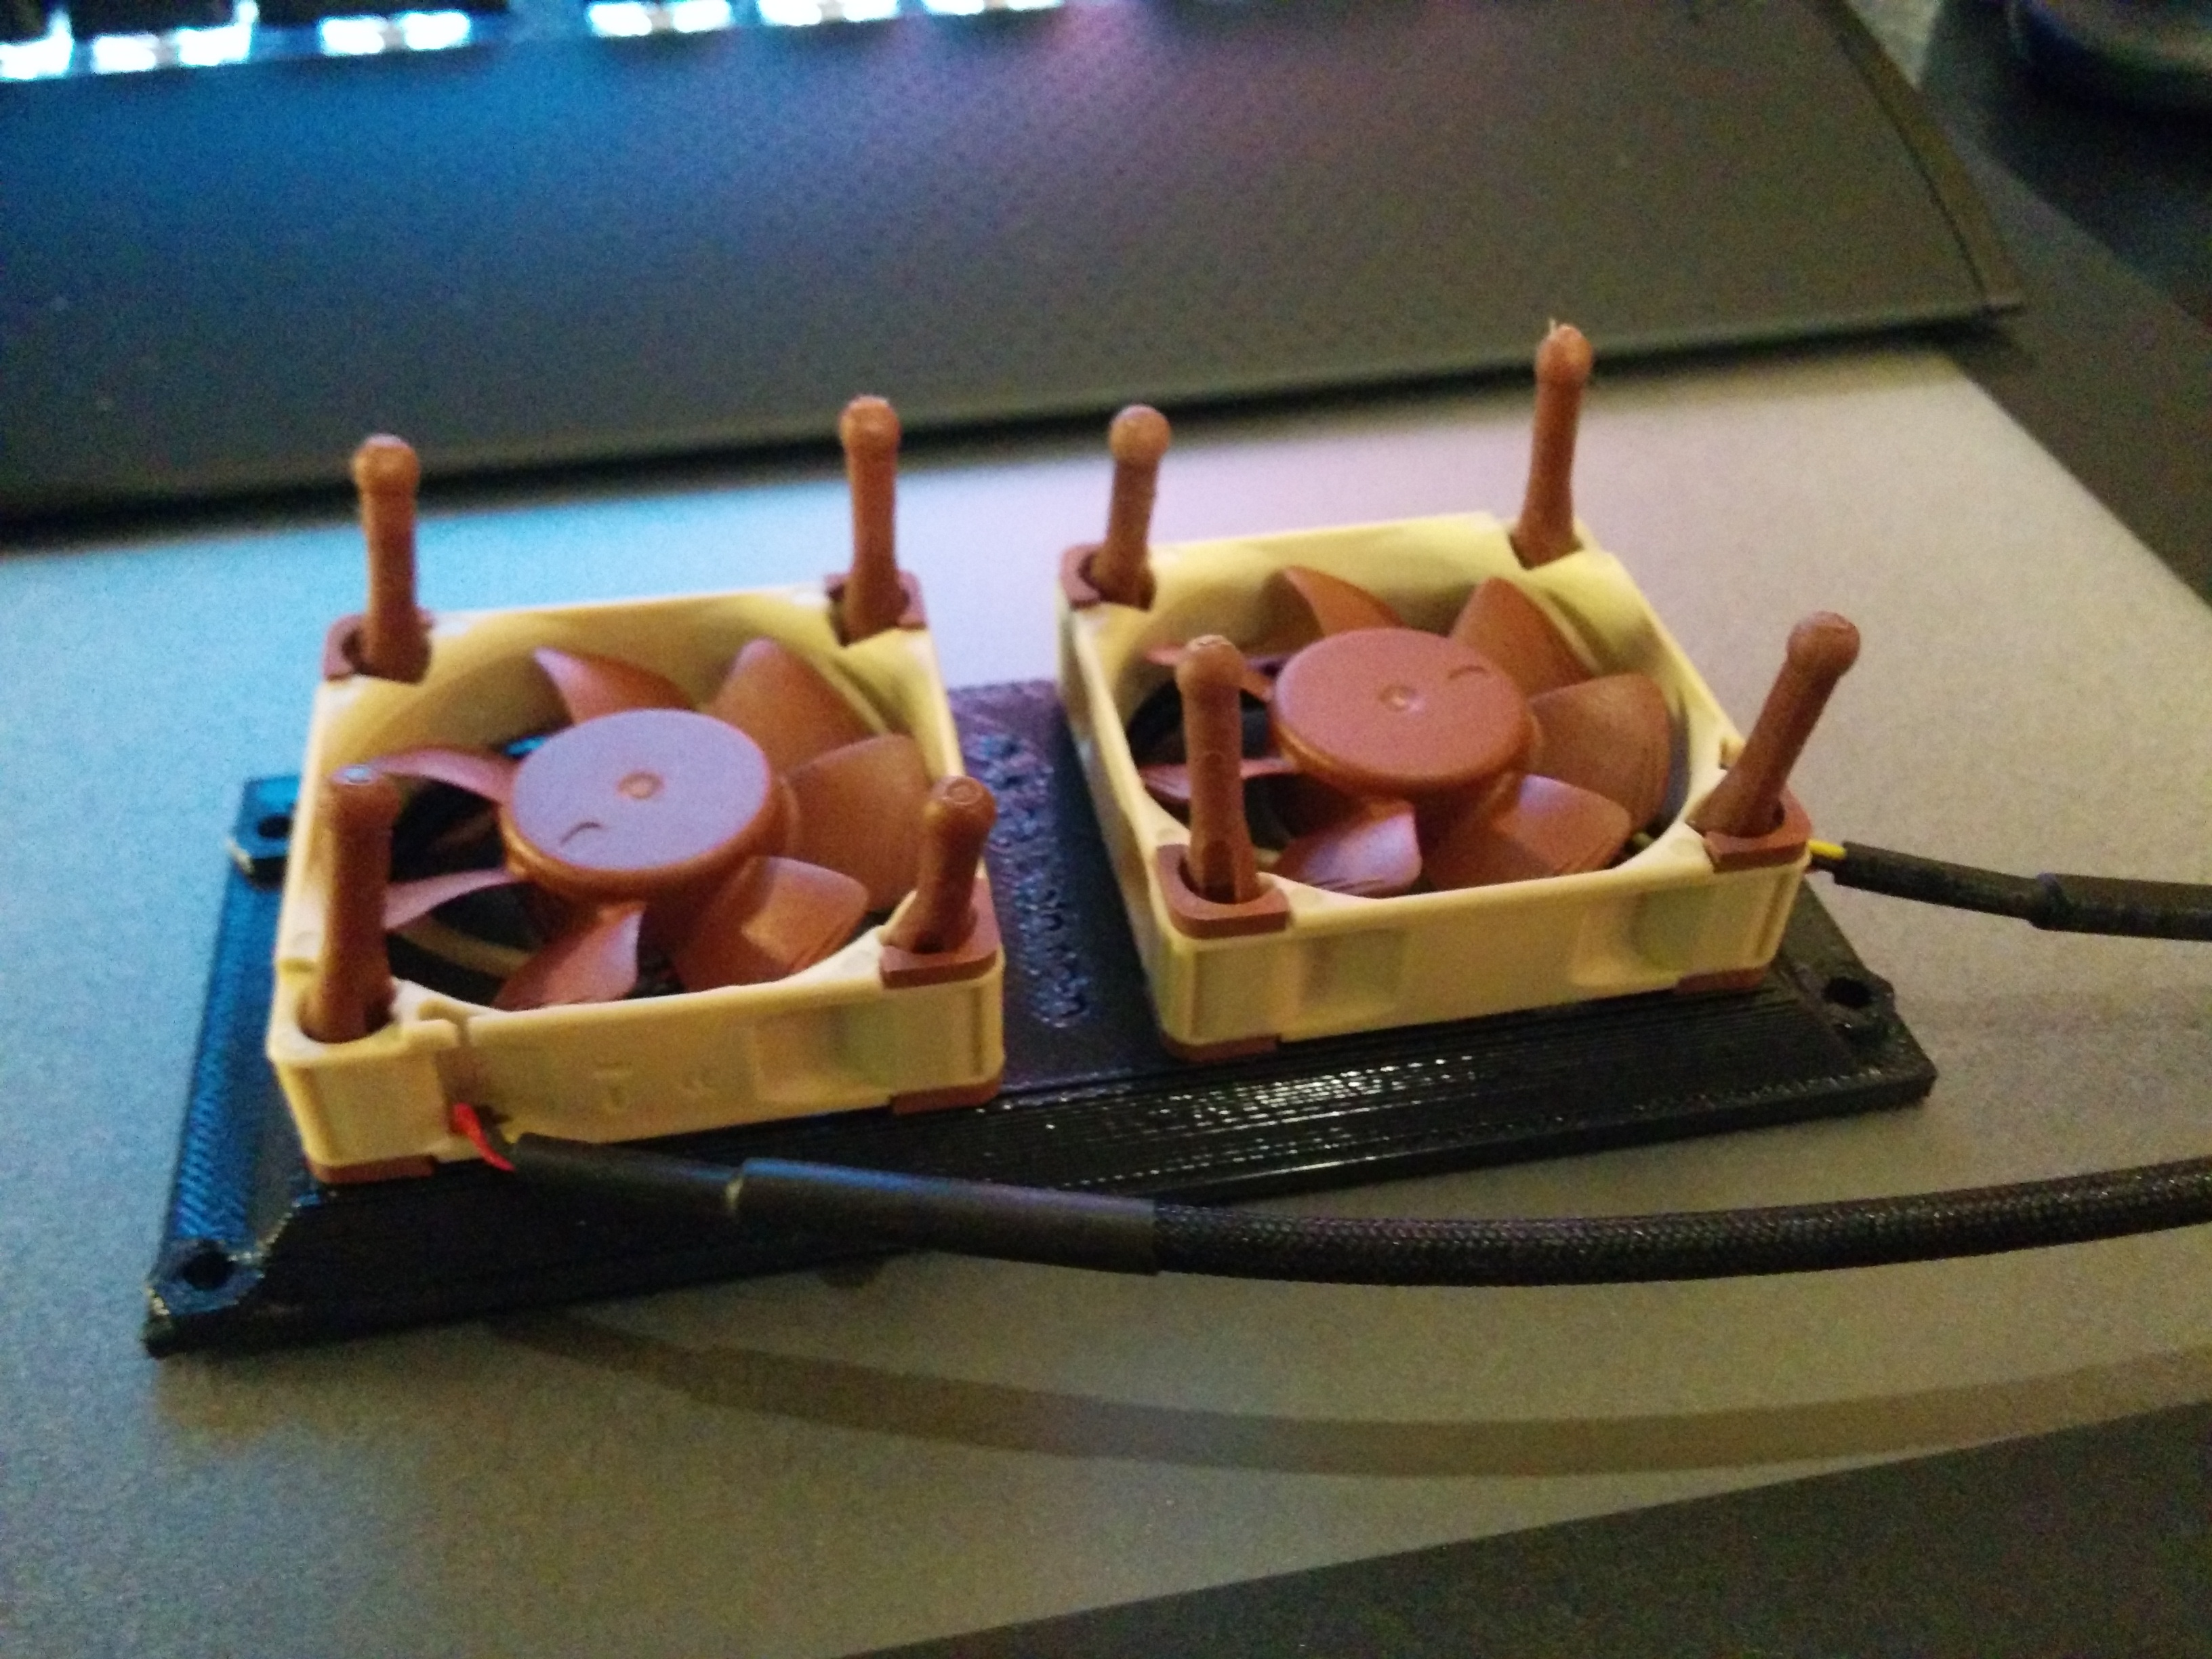

Results were far better than expected and whisper quiet. The total printing cost was ~$21 USD, the fans were on sale for $8 a piece which brought the total cost (not including personal time) to ~$37 USD.
The final DWG and STL files:
40mmHood_1.3_EXP2.dwg
40mmHood_1.3_EXP2.stl